Hi my name is Kat and I have been working for ActivityBreaks.com for a few years now. Every so often I get to try some of the activities we offer so I can better describe to people what they are.
Last week I got to try a via ferrata for the first time, here’s what I learned - but first a short introduction:
What is a via ferrata?
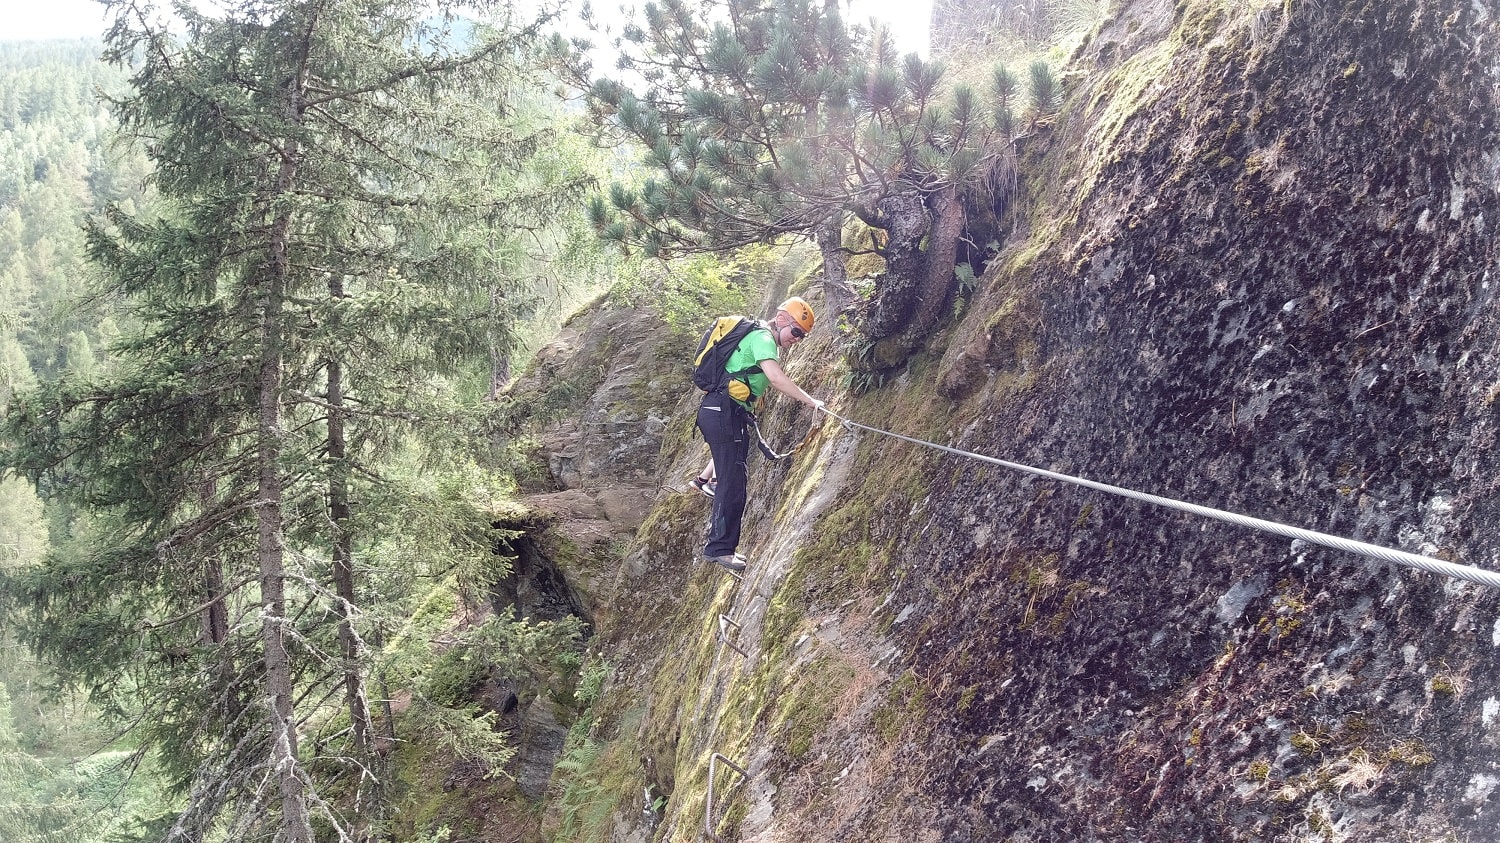
Often described as a mix of hiking, scrambling, climbing and mountaineering. Commonly known by the Italian ‘via ferrata’ (meaning iron way) due to their initial use in the Italian Dolomites, these routes use special equipment to safely traverse exposed sections of rock on the mountainside. While some less technical routes are little more than narrow paths along the mountainside (where you will be glad of your safety harness), others are more like rock climbing, meaning you need to find foot and hand holds to make your way along the route.
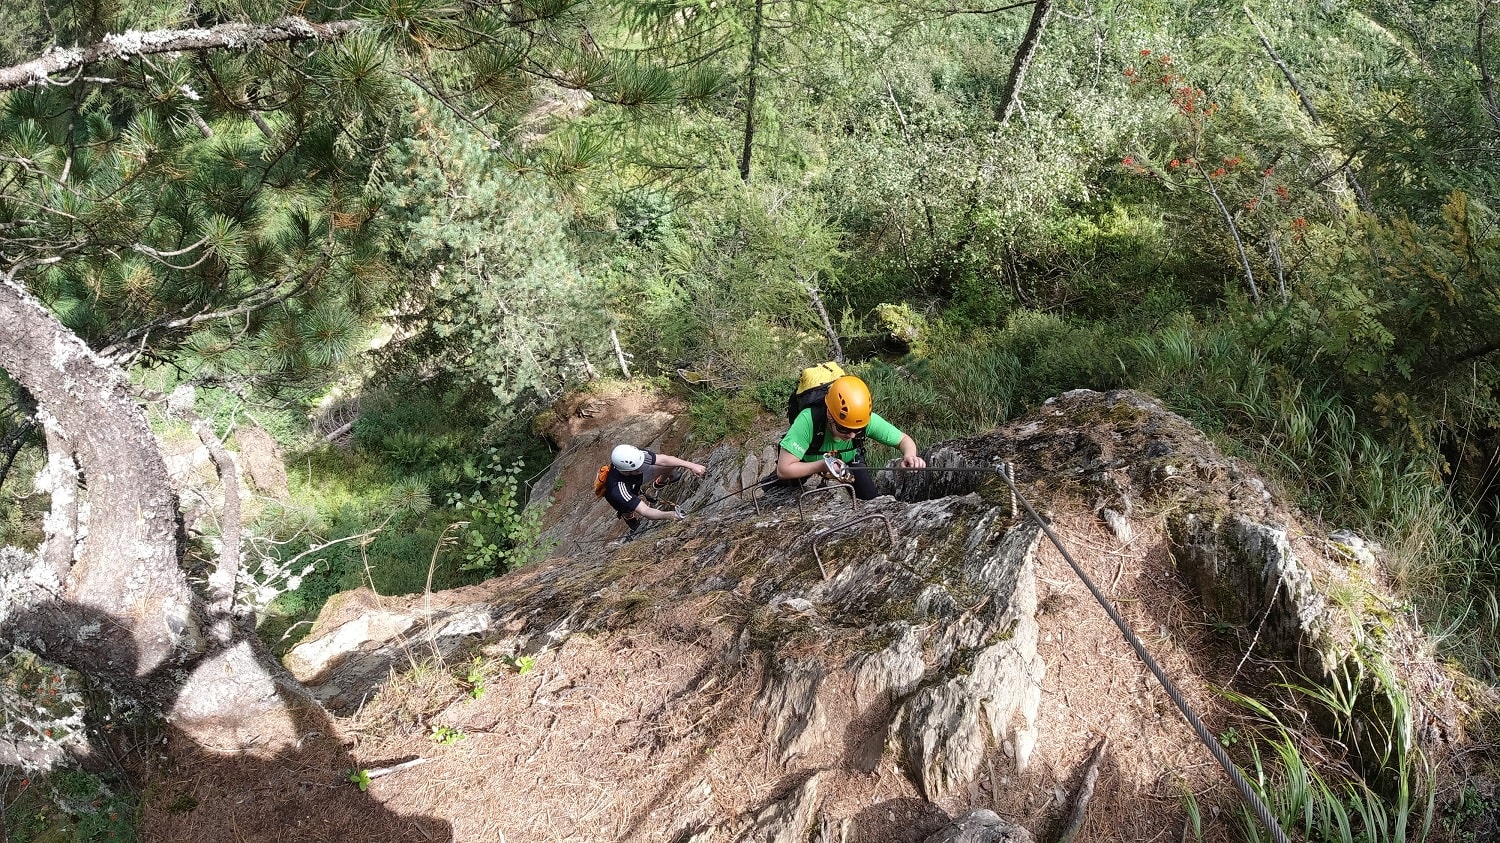
A steel cable runs the length of the route and is bolted to the rock at regular intervals. The climber moves along the route holding on to the cable, which they are attached to by a harness and two carabiners on stretch cords, which must be regularly removed and replaced one at a time at every bolt.
Iron rungs, pegs and ladders are used to assist the climber at difficult sections, but otherwise they need to find footholds on the rock to support their weight. Some also have bridges and tightropes for an added challenge.
1- They have an interesting history
On our way to the ferrata, our guide explained their fascinating history.
The via ferratas began as routes to high watch points in the Italian Dolomites in the Trentino region during World War One, where there was fierce fighting between Italy and the Austro-Hungarian Empire. Soldiers would use them to reach places inaccessible by road, often taking supplies with them.
After the war they fell into disuse, but after World War Two, when people began to have more leisure time and tourism became more popular, people began to travel to the mountains on holiday and outdoor pursuits became more popular – leading to the routes being rediscovered.
Most of the original war routes are still in use today, while many more routes have been constructed in the last fifty years or so, all around the world.
In Trentino you will often therefore see visible traces of the great war along or near your route, from abandoned munitions stores to rusty barbed wire.
2 - It’s more like rock climbing than hiking
I really though this would be more of a challenging hike, I was wrong. Having seen photos of people doing via ferrata walking along narrow mountain ledges I had thought that the purpose of the harness and carabiners was to stop you from falling over the edge at exposed points.
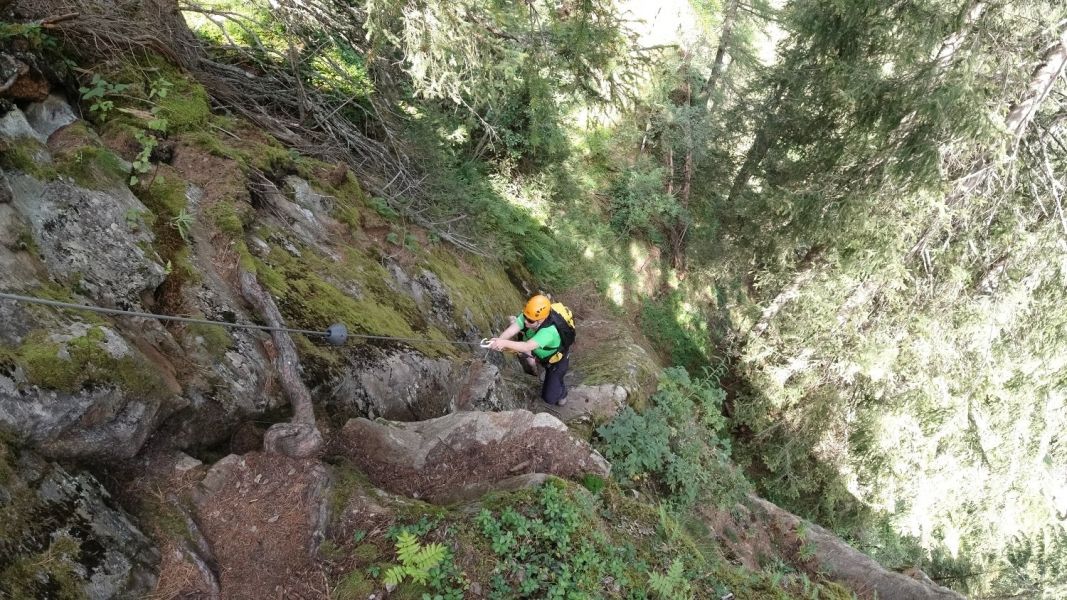
As it turns out the particular route I took was much more like rock climbing, where you need to find footholds in the rock face, and below you is lots of fresh mountain air. If you don’t like heights this sport is not for you.
Also if you fall your carabiners will slide down the cable to the nearest transition post, so you fall further and harder than when rock climbing with a partner who should tighten the rope as you climb.
As it turns out the route was described as ‘easy’ because it was short, taking around an hour to complete from the start of the cable to the end, and only requiring a short 15-minute hike to and from the start and end points. In fact it was a reasonably technical route.
Therefore,
3 - Check your route
Find out the difficulty level. Ratings vary from country to country. Some have easier and more challenging sections on the same ferrata. Make sure you are up to the more challenging sections.
Know how long it takes to get to and from the start and end points, some ferratas take around 2-3 hours hiking just to get to the start, so an excursion will take up most of the day.
Which brings me to,
4 - Go with a guide
If you are planning your first via ferrata, GO WITH A GUIDE. While most ferratas are free and you just need the right equipment to go (more on which below), going with an expert is by far the safest thing to do.
Your guide will know the route with their eyes closed, and can help you when you are hesitating.
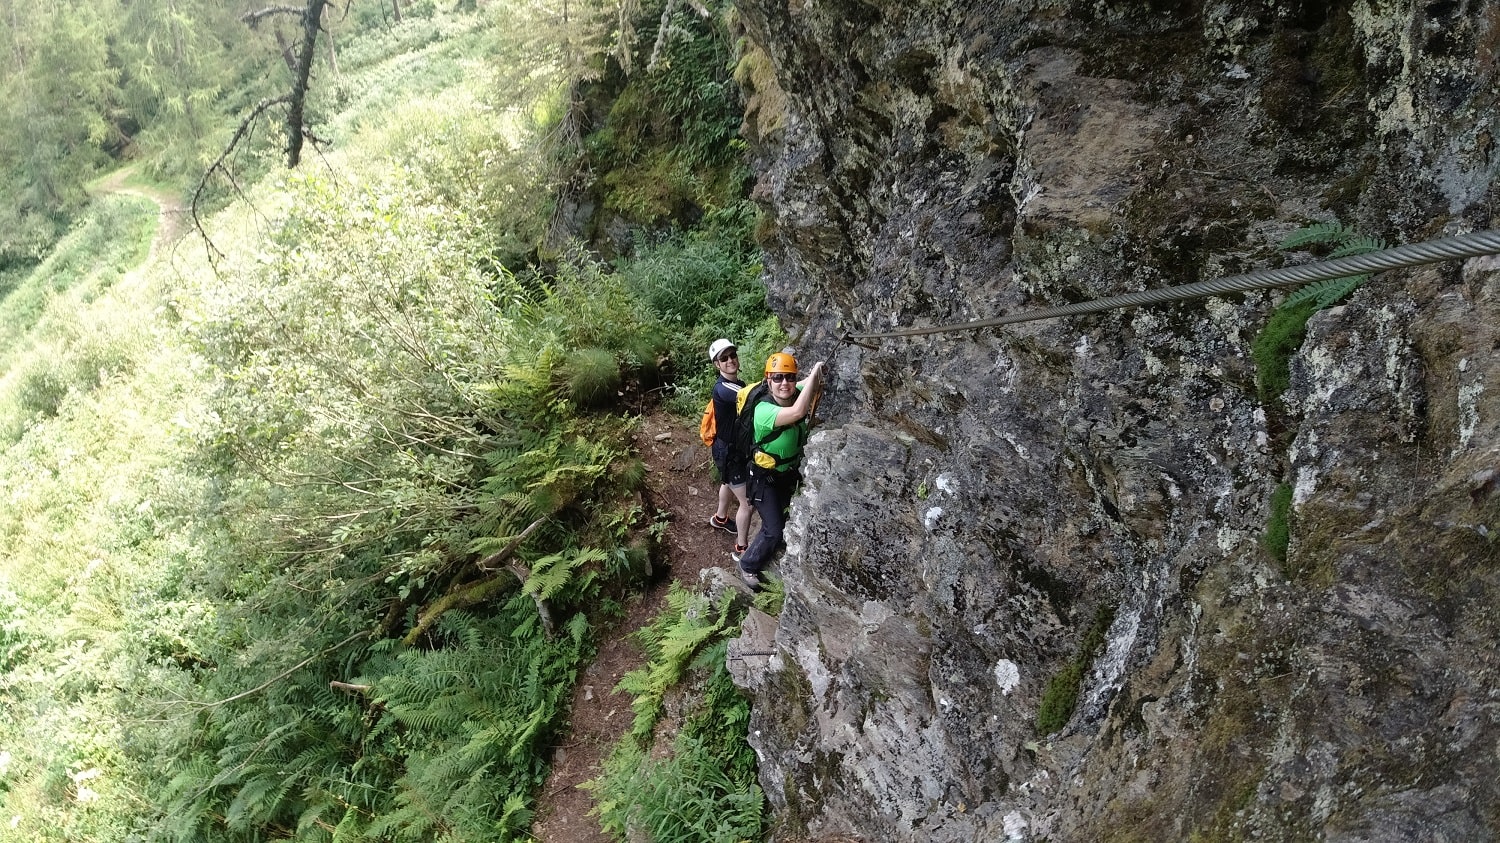
If you’re part of a group but a little nervous, make sure you are directly behind the guide so they can help you and keep the group moving. Our guide helped me at certain sections by clipping and reclipping my carabiners and even giving me a hand up at certain points where I didn’t feel confident (read: was petrified).
Added bonus: they will also take pictures which will be the last thing on your mind at the time!
They will also provide equipment, know the conditions of the route based on weather forecast and be on hand to help in an emergency.
Because
5 - There’s no going back
Once you head out you have committed yourself, there’s no turning back. Routes rarely have an exit point until the very end so make sure that you are really feeling up to it. There might be people behind you who definitely won’t appreciate somebody climbing back down towards them.
6 - Trust your feet
You need to be able to put your weight on your feet to push up. While the steel cable will support your weight if you pull yourself up on it, your larger leg muscles will tire less quickly than your arm muscles. This is why good footwear is important, to let you grip the rock.
Point your feet toward the mountain and try to straighten your arms so you lean out slightly, this will help you to keep your feet where you want them to be. Keep your hand behind the carabiners and slide them along as you move so you can unclip/reclip them easily.
7 - Come prepared
A basic via ferrata set is a climbing helmet, harness and a via ferrata lanyard with two leashes with carabiners and an energy absorber for if you fall.
Make sure you wear comfortable clothing - t-shirt and shorts or leggings, sturdy hiking shoes with a tough vibram-type sole (something that will grip the rock and not hurt your feet on ladders and stemples, so not trainers) and gloves to prevent your hands from chafing on the cable.
Take a light rucksack, a mid-layer and a waterproof outer layer, sunglasses and suncream. Basically prepare for everything. If taking a short route you can always leave whatever you won’t need in the car, if taking a longer excursion that lasts all day, better to be prepared!
On longer routes you might also want a headlamp, again check your route and ask your guide what you need to bring.
8 - Take a camelbak
While the person I was with didn’t seem to need regular water breaks, I had serious dry mouth so a camelbak was perfect. A small snack for the end of the route is also advisable.
9 - Breathe
This was what our guide told me more or less constantly, breathe! When you are scared you will take quick, shallow breaths. Make sure you take a few good, slow lungfuls when you remember, it does help.
10 - Enjoy it!
As you will have gathered, I am not a natural climber so was pretty nervous (especially at the section that went straight down), but the rush when you challenge yourself and complete something like this is unbeatable.
***
If you are interested in giving it a go, the ferrata I took is the Barba di Fior, just above the resort of Pejo near Madonna di Campiglio in the Italian Dolomites, part of our Adrenaline adventure holiday in the Dolomites package.
If you have any more useful tips for first-timers, let us know in the comments.
![]()
![]()
![]()